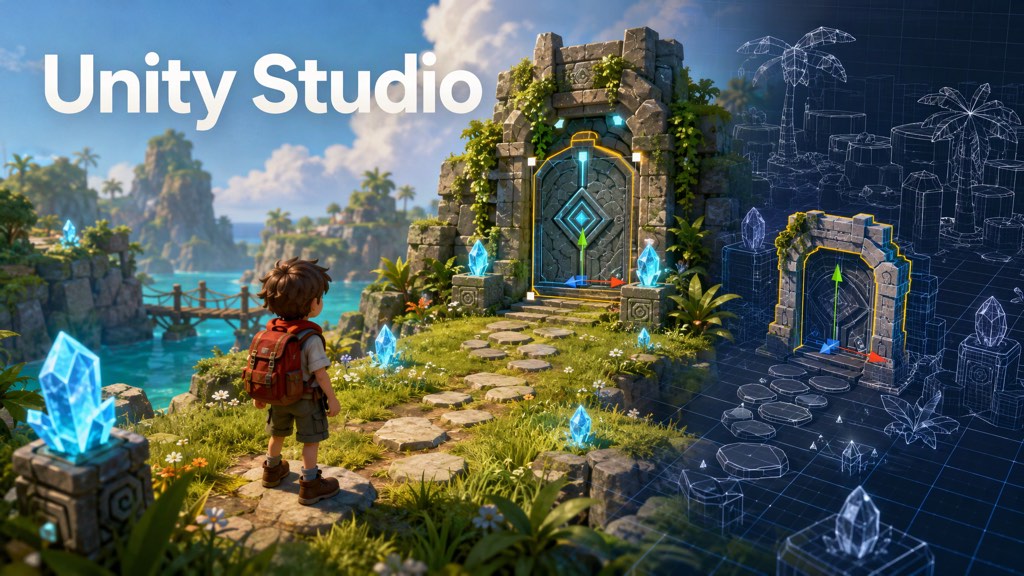
Provide: A sentence of scene or interaction target, a reference picture, or an existing Unity project and the parts you want to modify; visual style, purpose and delivery platform. If you have models, textures, sounds and brand assets, please give them together.
Receive: A target-built Unity scene or interactive prototype, a project that can be continuously modified, key perspective previews and operation instructions; when it needs to be run independently, a web or desktop version that can be built and actually verified is delivered.
"3D Game Workshop" organizes a complete game based on story, characters and gameplay; this inspiration starts from designated Unity tools or existing projects. You can just build a scene, change an interaction, or complete a playable fragment. The two can share tools and assets processes. After Game Workshop selects Unity, this inspiration can also undertake the specific production.
Three entrances
Tools and responsibilities
- Host Agent: Understand the target, read and write projects, write code, obtain assets and check running results, and continue to use its existing capabilities.
- Unity official plugin/skills: Provides project, editor, scene and resource operations, as well as on-demand UI, collision, lighting post and build guidance. Give priority to reusing Unity official plugin instead of writing another set of operation tutorials.
- Unity CLI + Pipeline: Connect to the native editor and perform production and verification. Direct calls are preferred when the command line can be run; hosts that only support MCP can check the MCP mode of the CLI. For official instructions, see Relationship between CLI and MCP.
- Flova (on demand): Scene concept drawings, style references, backgrounds and textures, interface visuals, sounds. Images are input as designs or assets and are not automatically regarded as usable 3D models; text and interaction logic are implemented by the project.
- Model source (on demand): The user has existing models, available open assets, or actual available 3D generation tools such as Tripo. Model generation and organization are not necessary steps every time.
- Teardown — retrieve and read the full “Break Down a Reference Video into an Interactive Report” inspiration through Flova MCP by name / storyboard (on demand): Use Teardown to refine the spatial and visual methods when the reference is complex; use storyboard when a customized shot display or rehearsal is required. Ordinary scene modifications do not require complete scripts and storyboards.
Workflow
1. Determine the purpose, project and completion conditions
Use the information already given by the user and fill in the parts that will change the plan: show people a set of shots, let people explore freely, or let people complete an action? Determine the style of painting, target platform and acceptance criteria for this round.
For existing projects, first identify the editor version, rendering pipeline, target scene, and user's existing resources, and then save the recoverable version before making changes; for new projects, first select a template suitable for the target. Check out the actual available CLI, Pipeline, Editor and Building Modules by official Skill. Account login, license qualifications and terms are completed by the user himself. If not ready, the scenario plan will be delivered first.
2. Turn the description into a spatial plan
First write down the subject, regional relationship, scale, viewing position and walking route:
- Scene focus: What the audience sees at first sight and what they see when they get closer; details are allocated around this focus.
- Layout and circulation: How to connect entrances, goals, landmarks and paths, and where to stay, turn or be blocked; avoid having a beautiful space but not knowing where to go.
- Interaction: Who can trigger, under what distance or conditions, what feedback occurs, how to recover or repeat; no task system is added when it is only for display.
- Unified vision: What shapes, materials, colors and lighting are used in the scene, and which open assets need to be rearranged to be put together.
Use an overhead layout or placeholder screen to illustrate the plan; users can look here when they need to review the direction. Brands, characters and unique assets in the reference are replaced by user materials.
3. Use placeholders to verify space and interaction
First use basic geometry to build the ground, obstacles, subject and camera. When there are exploration goals, movement and collision are added, and when there are interaction goals, triggering, feedback and recovery are first run through. Actual runs check routes, perspectives, accessibility, and operational tips before jumping into formal art.
For complex tasks, first verify a complete fragment, and subsequent expansions will follow the verified rules; do not regard "entering Play Mode" or "compiling passed" as the experience has passed.
4. Complete the integration of vision and assets
Prepare an asset list according to the space plan, distinguishing between assets that can be built directly, those already owned by users, open assets and those that need to be generated. First make a key perspective the target style, and then expand to other areas.
After importing assets, check the scale and orientation, materials and rendering pipelines, textures, collisions and necessary animations. Lighting, fog, post-production and sound serve the spatial hierarchy and operational feedback, without using effects to cover up the problem of not being able to see the subject clearly or not being able to find the target. Document actual assets sources and usage conditions; no full character performance is promised without model rigging or animation.
5. Acceptance and modification from the user’s perspective
- Show scene: Look at the subject level, composition and materials one by one from the target shot, not just check one perspective in the editor.
- Exploration or interaction: Actually walk from the starting point to the target, verify occlusion, collision, prompts, repeated triggering and recovery; complete the entire process when there are playable tasks.
- Existing project modifications: comparison This round of changes checks the original entrance and adjacent functions, and retains the content confirmed by the user.
- Independent build: Operation, screen and loading are re-verified in the target build; performance and compatibility are recorded based on actual devices and are not inferred from editor performance.
When modifying, locate the affected scenes, objects, and assets and use the rest. Log operational errors, devices or features not yet covered.
6. Delivery
Deliver the actual completed Unity project, preview, operation and startup instructions, asset sources and known issues; attach this round of modifications and verification scope. When a standalone version is required, provide the actual built and run files. Deliver the build without hosting, and do not treat the local preview address as a public trial link.
Keep the clear organization of scenes, scripts, and assets in the project, and reuse existing project specifications. Do not force a new set of document directories for simple modifications, nor automatically access login, payment, advertising or network services.