
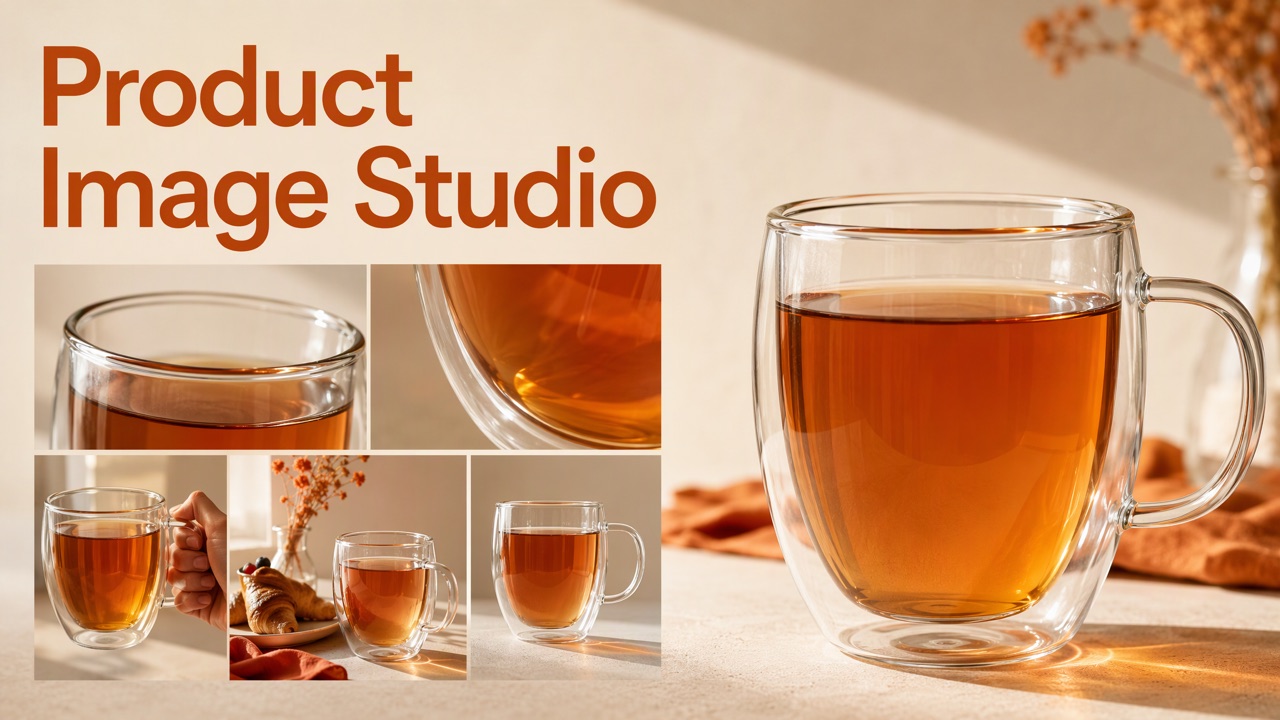
Provide: 1–5 product images, approved name/capacity/material/benefit facts, target platform and market. Add model photos/descriptions for try-on, or a variant list for SKU work.
Receive: A channel-ready set plus an image inventory listing each file's role, factual basis, channel and dimensions. Images remain individually revisable.
Modes, tools and references
- Listing set, default: Give each image a distinct information role.
- SKU variants: Change only a specified attribute from one approved baseline; deliver images and a variant table.
- Clothing try-on: Put real garments on a fixed model, or keep one garment across several models.
Flova is required; use actual product references and Flova Skill for mode/model/request selection. Optional web research checks current platform requirements and category photography. Without web access, request dashboard requirements and references from the user.
Read in step 1; in listing-set steps 3–4; or for those modes.
Boundaries
Product images define proportions, color/material, structure (buttons, ports, zips, fasteners), logo/printed text content/placement and condition. Never generate an approximate replacement or imagine missing rear/packaging views; request photos. The selected variant/try-on mode changes only its explicitly authorized attribute.
Use supplied facts and exact benefit wording. Do not invent or imply absent capabilities: no splash implying unclaimed waterproofing or invented capacity graduations. Do not generate price/inventory text or unsupported beauty/health before-after effects. Show only documented packaging/accessories; without packaging photos, explain use of an ordinary unbranded box. AI people are not real customers; no invented testimony. Confirm consent for real photos and remind the user about AI labeling. Current platform rules govern channel compliance.
Workflow
Channel/product (approval) → set plan (approval) → first image (approval) → remaining images → individual revisions → delivery.
1. Channel and facts — approval
Confirm platform, market, onscreen language, placement-specific ratios and hard requirements using the channel card; save docs/channel.md and approve it. Inspect photos, list locked product attributes, supplied benefits/specifications, and intended images; confirm the fact card and scope.
2. Plan the set — approval
Default to 5–6 selected roles: identification/white-background main image, mood/lifestyle, core benefit, detail, use case and scale/handheld. One image conveys one point; do not duplicate a benefit across images or omit the most important one. Approve the role table. Variants and try-on instead follow their respective item lists.
3. First image — approval
Write one shared light/background/palette/texture direction and reuse it verbatim; follow brand standards when supplied. Research comparable photography if online. Generate one image directly at the channel ratio, not by cropping an already completed set. Pass actual product references every time and state that the first image is the product itself with unchanged shape/color/logo. Follow the frame recipes. The approved first image becomes the set baseline.
4. Complete the set
Generate individually and compare each against the fact card: appearance, logo/print, extra parts, pure-white background where required, shared lighting and channel constraints. Redo only failures, at most twice; if still wrong, explain and request better photos. Apply specialized variant/try-on checks where relevant.
5. Revise individually
If the user says image 3 is dark, change only image 3. Change one variable at a time—lighting, angle or setting—leaving the rest intact.
6. Deliver
Name files <product>_<channel>_<role>_<index> with matching prompt text files. Include inventory, channel card, fact card and shared direction. Reuse these for additions or other channels.
ecom-<product>/
├── docs/      channel.md, facts, shared direction, roles, inventory
├── source/    product and model references
└── output/    images and prompt files
Channel card
Requirements differ by channel, market, language and placement. Establish them before production.
Platform rules change. With web access, check the platform/market's current official help, recording source/date. Otherwise request the dashboard/help requirements. Mark unknowns “awaiting user confirmation,” not guesses; approve the card before use. Own-store specifications are user-defined.
For multiple channels, complete the primary first; recompose/regenerate others from the same role plan instead of cropping finished images. Regenerate/check added text in each target language; text-free images may be shared. Use one channel card per channel and identify channel in the inventory:
Before delivery verify all planned roles are covered, benefits are not duplicated and every image meets its card.
Frame recipes
Pass the actual product image, state which references control product/background/props, and reuse the shared direction verbatim.
White-background main image
Center the product at about 70–85% of the frame, frontal/default orientation with a slight 5–10° downward view, subject to channel rules. Use pure white without props/gradient or extra shadows beyond floor reflection; soft even studio light without cast. Request “centered product, pure white background, soft even studio light, no props or added text.” Inspect true white and gray/colored edge fringes.
Lifestyle/mood
Keep the product at the visual focal point, optionally a slightly low 15–25° angle for presence; environment is secondary. Choose one relatable use setting per image with sparse purposeful props. Match light temperature/hardness to the set. Describe scene/time → product position/orientation → light; do not let the model invent branded props.
Benefit image
Show one supported benefit: droplets on a genuinely waterproof surface, lightness beside a leaf, or capacity beside an everyday comparison object. Facts must support the implication. Added copy follows the text rules below.
Detail
Use macro/close framing on one real texture, seam, button, port, print or lid latch. Identify the exact detail/material and side light revealing texture. Compare enlarged details to the original; redo invented texture/engraving. Avoid abrupt jumps in image scale: insert a close view between medium and extreme close-up.
Handheld/scale
Convey scale with a hand, ordinary tabletop object or phone. Hands must have natural proportions/finger count without covering logo/structure. Use actual dimensions in the request; without dimensions, omit scale imagery and explain why.
Use case
Show actual use or clear recent use. Hands/body without a face may suffice, avoiding unnecessary identity permissions. Keep defining product features unobscured by hands/clothes/objects.
Category checks
- Bottles/tubes/pouches: labels drift easily; face the logo toward camera and supply corresponding reference views for different angles.
- Electronics: leave screens blank/solid rather than inventing UI; preserve port/button counts and positions.
- Clothing/shoes/bags: check cut, print, zips and hardware; do not invent fabric composition.
- Food/drink: show only flavors/ingredient imagery actually on the packaging; do not imply unclaimed fresh preparation.
- Beauty/skincare: texture demonstrations are allowed; effect before-after comparisons need genuine supporting evidence.
Text
Default to no added text: request no text/watermarks/marks except the product's original logo and printing, which remain unchanged. If a one-line benefit is requested, use the user's exact short wording, specify position/font style/color without obscuring the product, and check every character. Redo any error; after two failed corrections, deliver a text-free image and explain that the line needs a design-tool overlay. Numbers, prices and specifications are added by the user or later layout, not generated by the model.
Try-on rules
Choose which side is locked and which varies. The locked side must remain recognizably identical throughout.
Ask if the mode is unclear. Prefer clear garment front/back/detail images showing fabric, print and logo.
For supplied model photos, confirm rights/consent and reference them in every image. For AI models, generate/approve a full-body frontal baseline in neutral clothing on a simple background, then reference that exact image each time; independently regenerating people causes identity drift.
Generation
Use a multi-reference image-to-image model; include both the locked-side and that image's changing-side reference. Do not use text-only generation or vague “same as before” wording. Keep setting, lighting, framing and pose fixed, changing only the chosen side.
Reuse the relevant lock exactly:
- Model: “Keep the exact same person from the model reference — identical face, skin tone, body shape, hair, lighting; do NOT change their identity.”
- Garment: “Reproduce the exact garment from the garment reference — do NOT recolor, re-pattern, re-cut, restyle; keep color, print, cut, collar, ribbing, logo identical.”
Identify reference roles in order: first model controls face/hair/build; second garment controls style/color/print/details.
Framing and inspection
Use complete head-to-toe, natural standing poses at 3:4 or 9:16, not headless models, flat lays or floating clothes. Clothing should drape/fold as actually worn. Fabric/stitching close-ups may supplement, never replace, full-body images.
Per image check locked identity; exact garment color/print/cut/collar/logo; undistorted face/body; complete body; physically plausible fit; shared framing/pose/light; and no invented sizes/fiber composition. Regenerate failures with both references attached again.
Optional motion and delivery
After still approval, use it as first_frame for 3–5 seconds: half-turn in place, two steps or a small collar adjustment. Larger movement increases identity/garment drift. Specify preservation of person/clothing and inspect rear style, print/logo deformation and hand/cloth intersections.
Deliver a same-named .prompt.txt for every image, recording mode, locked/changed side and references, so later outfits/models can be added consistently.
SKU variant rules
Generate one image per actual color/material/pattern/size variant. Change only the specified attribute.
Inputs
- Approved baseline/original image locking camera, framing, light and background.
- One attribute type at a time: color, material, pattern or size.
- Named variant list with evidence: color code or actual swatch/photo rather than a vague “dark blue”; material plus texture direction/scale reference; pattern with size/layout; size with actual dimensions and a hand/common-object comparator. A single image cannot prove actual size.
For a shop/catalog list, including Shopify data, copy names/counts exactly. Ask about count/list discrepancies before proceeding.
Method
Identify editable regions; lock logo, structure, accessories, background, lighting, camera and framing. Reference the same baseline for every variant and reuse: “The first reference is the baseline. Change only 's to ; keep everything else identical.” Generate one variant per image, sequentially, not several colors in one output or a combined sheet.
Table and checks
Name files <product>_<variant>_<index> and deliver:
Compare side by side/overlaid for drift in logo, structure, accessories, background and shadows. Check color against codes/physical photos, flagging lighting-related uncertainty; ensure one-to-one list coverage without omissions/extras/duplicates. Check material/pattern scale/direction and blur.
Only generate genuinely available variants for listing. Generated color may differ from the physical item; require physical comparison before publishing to reduce returns/disputes. The more a variant introduces a new view or reconstruction, the more carefully fidelity must be checked against the original.